Before you jump into the procedures
Overclocking
Outdated processors and low RAM are reasons Android phones start hanging at some point in time. Limited CPU clock speed is the major reason for the underperformance of Android.
Make sure not to set your CPU’s frequency to neither too high nor too low; this can cause worse results, and you may lose your Android Phone forever. If you set CPU’s frequency too high, it may cause overheating of the processor, which can burn the processor, and you will lose your device. If you set CPU’s frequency too low, then its CPU can go to sleep’s condition forever, and again you will lose your device.
To fix this issue, one needs to overclock the Android device. However, one needs to have superuser access in order to tweak the performance of Android phones.
Things to Have Before Overclocking Android Device
Before going ahead with the overclocking process, you need to have the following things:
Rooted Android Device The device should be fully charged Take the Nandroid Backup of your Android files Download the Overclocking App from the Google Play Store
How to Overclock Android [Step-By-Step]?
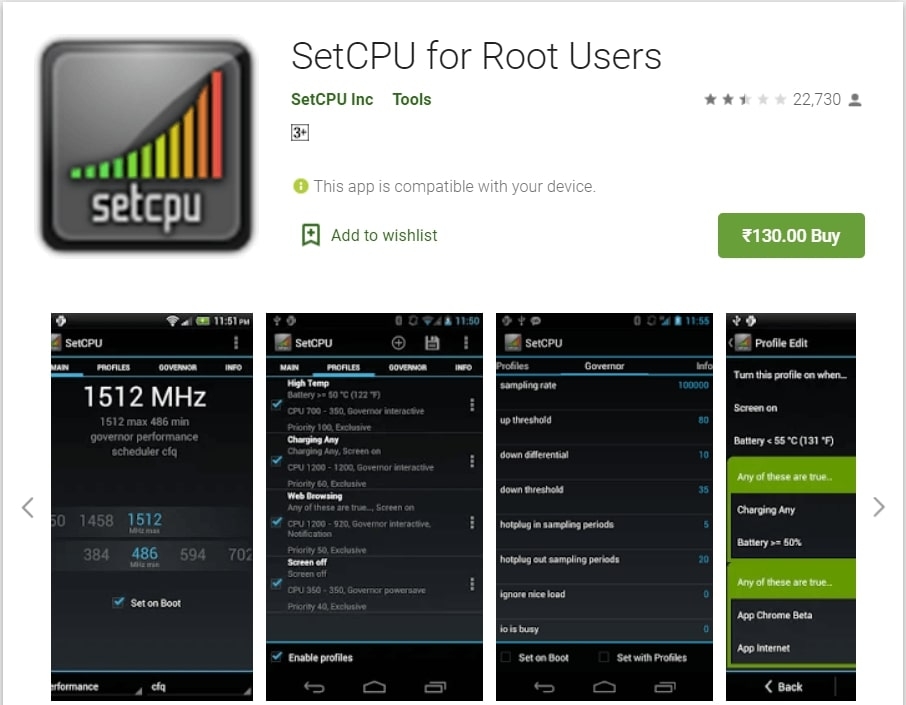
Firstly, root the Android Device by following these guides (One, Two). Now, download and install overclocking app like SetCPU for Root Users from the Google Play Store.
Launch this app and give superuser access.
After you give the superuser access, follow the steps given below on the SetCPU app:
Firstly, allow the app to scan the speed of the processor. Once the speed is detected, configure the minimum and maximum speed. It is important to switch the Android CPU. Moreover, do not try to increase the CPU speed instantly. Check the options one by one and see what works for your device. Once you see the speed of your Android device is stable, tap on the ‘Set to Boot’ option. Now, create a profile and set the conditions when you want to overclock the CPU.
Underclocking (or Undervolting)
If you want to increase the battery life of your Android device, underclocking is the best way. However, when you underclock the device, you cannot expect high performance from the Android device. It only improves the battery life of the device.
How to Underclock Android Device?
Method 1: Flash the Kernel (Franco)
Firstly, download the stable kernel (Franco)on your Android device.
Also, Read: Top 5 Custom Kernels For Android
After downloading the latest kernel, check the device’s option to flash and reboot.
Also, Read: How to Install Custom Kernel on Your Android Smartphone
Once the device rebooting is done, re-open the kernel app and set the frequencies. Tapping on the ‘-25mV’ option will reduce the voltage, which is one of the best ways to reduce battery consumption. Now, set the voltages in the boot box and restart the device.
Once the restart is performed, you can find the difference in terms of battery consumption.
Method 2: Manual Flashing
If you cannot use the Franco kernel, we recommend you manually flash the Android device. For that, you can navigate to the top kernels page and find a suitable kernel for your phone. Download and flash the same kernel as you would do with a custom ROM.
Method 3: Use Voltage Control
After flashing any kernel, use the Voltage Control Extreme app to control the voltage settings on your Android device. However, you need a stable kernel and a compatible Android device to perform this action.
Conclusion
These are some of the best techniques you can try to overclock and underclock your Android device. Underclocking is the best choice if you want to compromise on performance but are looking for the best battery life. On the other hand, overclocking your Android device works like a charm if you are a power user.